Ever wondered if you could safely remove your shellac nails at home? Salons might be hard to reach sometimes. Learning how to take off shellac nails safely is a great skill to have.
Removing shellac nails is not hard. You can get professional results at home with the right tools and techniques. Remember, be patient and gentle to protect your natural nails.
It’s important to remove shellac nails safely. Don’t peel or bite off the polish to avoid damaging your nail beds. Follow our step-by-step guide for a smooth and safe removal.
Key Takeaways
- Shellac removal can be done safely at home with the right tools
- Patience is key to avoiding nail damage during the removal process
- Never peel or bite off shellac polish to protect your natural nails
- Proper preparation is essential for effective shellac manicure removal
- The removal process typically takes 20-30 minutes when done correctly
Understanding Shellac Nails and Why Professional Removal is Ideal
Shellac nails are a favorite for those wanting a long-lasting manicure. It’s key to know what shellac nails are and why getting them removed by a pro is best.
What are shellac nails?
Shellac nails mix traditional nail polish with gel manicures. They last up to two weeks without chipping. The polish is cured under UV light, giving a glossy and durable finish.
Benefits of professional removal
Getting your nails done by a pro has many perks. Experts use safe ways to remove shellac that won’t harm your natural nails. They use top-notch removers and tools for a gentle removal.
Risks of improper removal
Wrong removal methods can hurt your nails. Peeling or forcing off shellac can damage your natural nail layers. It can make them weak and brittle. Harsh chemicals or wrong removers can also irritate your skin.
| Removal Method | Pros | Cons |
|---|---|---|
| Professional | Safe, efficient, minimal damage | Higher cost, time commitment |
| DIY | Convenient, cost-effective | Risk of nail damage, time-consuming |
Knowing about shellac nails helps you choose the right care for your nails. Whether you go pro or DIY, picking safe removal methods is key for healthy nails.
Essential Tools for At-Home Shellac Removal

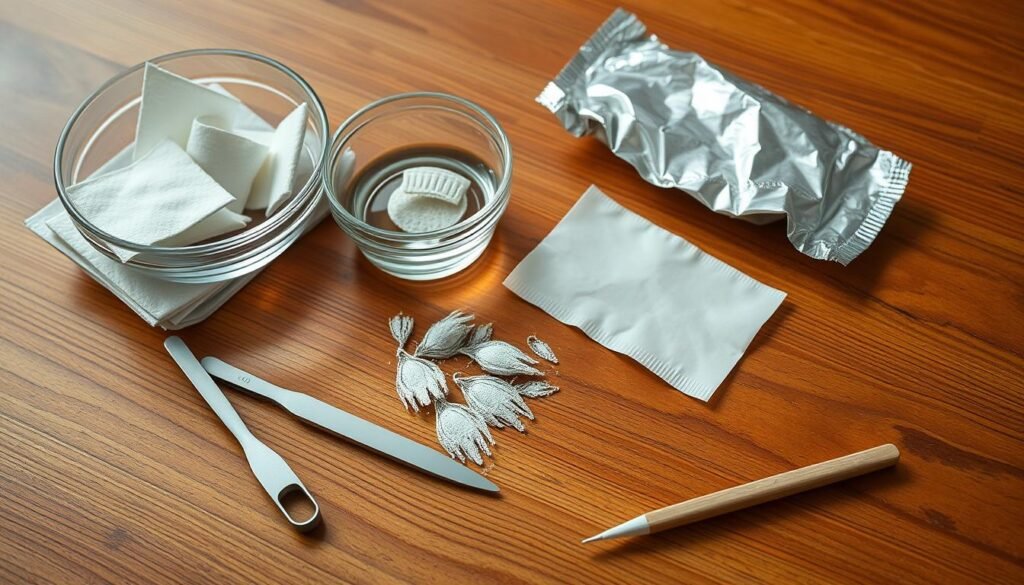
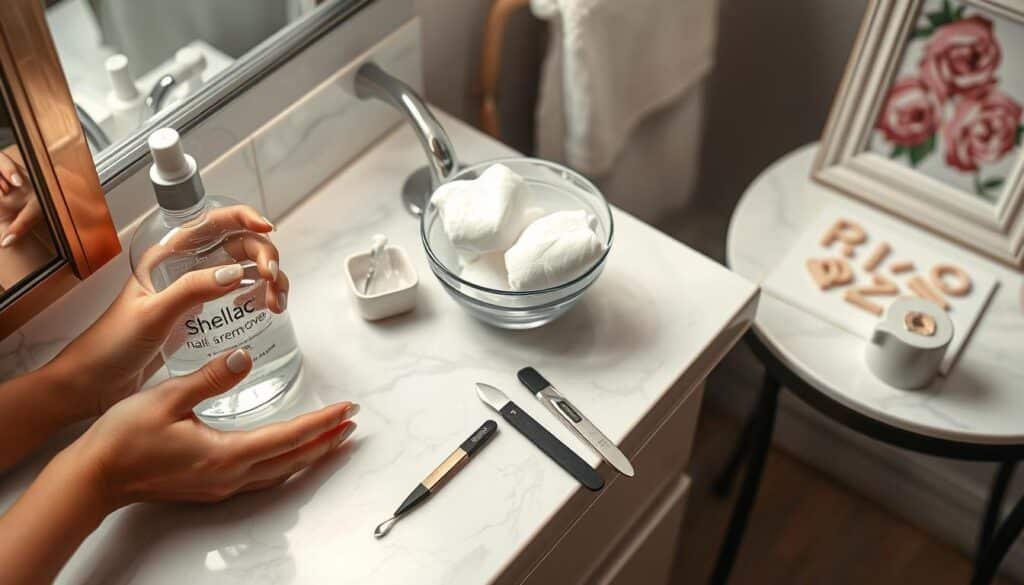
To start your DIY shellac removal, you need the right tools. These essentials will help you do a great job at home.
- 100% pure acetone or acetone-based remover (60%+ concentration)
- Cotton balls
- Aluminum foil
- Nail file or buffer
- Wooden cuticle sticks
- Soft nail brush
For aftercare, you might want cuticle oil and hand cream. Using top-notch tools is key for safe and effective removal.
| Tool | Purpose |
|---|---|
| Acetone | Breaks down shellac polish |
| Cotton balls | Apply acetone to nails |
| Aluminum foil | Wraps nails to trap heat |
| Nail file | Gently buffs top layer |
| Cuticle sticks | Lifts loosened shellac |
| Nail brush | Removes residue |
Don’t use metal tools as they can harm your nails. Having everything ready before you start makes the process easier and faster.
Preparing Your Nails for Shellac Removal
Before you start removing shellac, it’s important to get your nails ready. This makes the process smoother and more effective. Let’s look at the essential steps you need to follow.
Filing the Topcoat
The first thing to do is gently file the shiny topcoat. Use a nail file or buffer to make the surface of your shellac manicure rough. This helps the acetone soak in better during removal.
- Use a gentle back-and-forth motion
- Focus on removing the shine, not the entire layer
- Check your progress under good lighting
Protecting the Skin
To keep your skin safe from acetone’s drying effects, apply a protective barrier around your nails. This is key for keeping your skin healthy during removal.
| Protective Product | Application Method | Benefits |
|---|---|---|
| Petroleum Jelly | Apply a thin layer around nails | Prevents drying and irritation |
| Cuticle Oil | Massage into skin surrounding nails | Nourishes and protects skin |
By following these steps, you’re ready for a successful shellac removal. Remember, patience is important when learning to remove shellac at home. Take your time and be gentle with your nails.
How to Get Shellac Off Nails: Step-by-Step Process

It’s important to remove shellac from nails safely to keep them healthy. Follow these steps for a simple at-home process.
Soaking with Acetone-Soaked Cotton Balls
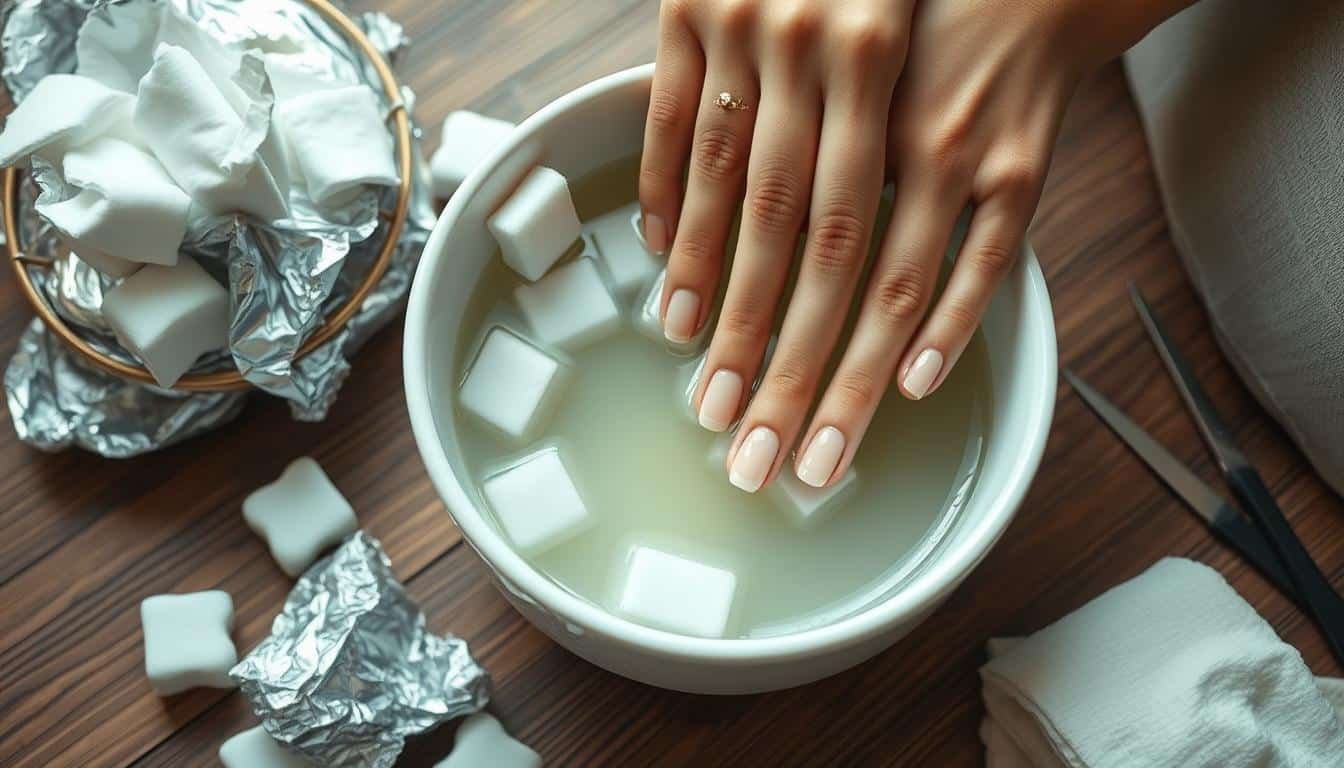
Begin by soaking cotton balls in acetone-based nail polish remover. Place a soaked cotton ball on each nail, covering the shellac polish fully.
Wrapping Nails in Aluminum Foil
Wrap each finger in small squares of aluminum foil after placing the cotton balls. This keeps the acetone in place and speeds up the process. Leave the wraps on for 15-20 minutes to let the acetone work on the shellac.
Gently Removing Loosened Shellac
After soaking, remove the foil and cotton balls carefully. Use a wooden cuticle stick to gently push off the softened shellac. If some polish is still stuck, rewrap those nails and soak for another 5 minutes.
| Step | Duration | Action |
|---|---|---|
| Initial Soak | 15-20 minutes | Break down shellac |
| Removal | 5-10 minutes | Push off softened polish |
| Re-soak (if needed) | 5 minutes | Loosen remaining shellac |
Don’t scrape your nails hard to avoid damage. After removing all shellac, gently buff the nail surface to remove any leftover residue. These steps help you safely remove shellac at home, keeping your nails healthy for your next manicure.
Alternative Methods for Shellac Removal
Acetone soaking is common, but there are safer ways to remove shellac. You could use a specialized gel polish remover. It’s gentler on your nails and breaks down shellac without harsh chemicals.
The “baggy method” is another option. Instead of foil, you soak your nails in acetone-filled plastic bags. This method is more comfortable and lets you watch the removal process easily.
Nail polish remover clips are a secure choice over foil wraps. They hold cotton pads soaked in remover against your nails. This setup is mess-free and makes removal more effective.
Keep in mind, these methods might take longer than soaking. Always choose a method that’s good for your nails. If you’re not sure, getting help from a professional nail technician is best.


Interesting read, but isnt professional removal just a ploy for salons to make more money? DIY seems just as effective. Thoughts?
Just my two cents, but isnt DIY shellac removal actually damaging to our nails? Pros surely must do it better, right?
Interesting read, but seriously, who has the time or cash for professional removal? Isnt DIY about self-reliance anyway? Just my two cents.
Just saying, why waste money on professional removal when you can easily DIY shellac nails off with some YouTube guidance?
Because sometimes, professionalism trumps YouTube tutorials. Not everyones a DIY expert, mate.
Interesting read but honestly, why pay for pro removal when DIY works just as well? Is the salon experience that crucial?
Maybe not everyones as adept at DIY as you? Theres value in expertise.
Interesting read, but arent we glamorizing unnecessary salon visits? DIY methods work just fine if done with care. Nail health over pro-removal, anyone?
Not convinced about DIY. Is it really as effective and safe as professional removal? Could end up damaging our nails, right?
Just my two cents, but isnt it more satisfying to peel off the shellac nails yourself? Forget pro removal! #DIY4LIFE
While I get the pro removal idea, isnt it just a ploy to get us back in the salon? Ever tried a potato peeler? Just kidding!