Ever thought about bringing aura magic to your nails? Aura nail art is all the rage, offering a dreamy look for any event. It mixes colors for a soft, hazy vibe that looks like energy fields around us.
In this guide, we’ll show you how to make stunning aura nails at home. You’ll learn about ombre and tie dye techniques. Get ready to turn your nails into tiny art pieces that show off your inner light!
Key Takeaways
- Aura nails feature a blurry, gradient effect radiating from the nail center
- Techniques include airbrushing, sponging, and careful polish blending
- This manicure style is inspired by colorful energy fields
- Aura nail art is versatile and suitable for all occasions
- You can create aura nails at home with the right tools and techniques
- Ombre and tie dye effects are key components of aura nail designs
Understanding Aura Nails: The Latest Nail Art Trend
Nail art fans are excited about aura nails. This trend has swept the beauty world, offering a new twist on manicures. It’s both artistic and flexible.
What are aura nails?
Aura nails mix colors to look like an energy field. They’re different from shattered glass or geode nails. Aura nails have a soft, hazy look without harsh lines.
The inspiration behind aura nail designs
Aura nails draw from spiritual ideas. They aim to show personal energy, like unicorn nails do. But they use a special blending method for a more dreamy effect.
Why aura nails are gaining popularity
Aura nails are becoming more popular for a few reasons:
- Customization: You can pick colors that match your mood or style
- Versatility: They fit both casual and formal looks
- Uniqueness: Each design is unique, like a fingerprint
- Artistic expression: They let you play with color combinations
| Nail Art Style | Key Features | Difficulty Level |
|---|---|---|
| Aura Nails | Soft color blending, ethereal glow | Intermediate |
| Shattered Glass Nails | Reflective fragments, sharp lines | Advanced |
| Geode Nails | Crystal-like appearance, textured surface | Expert |
Essential Tools and Materials for Creating Aura Nails
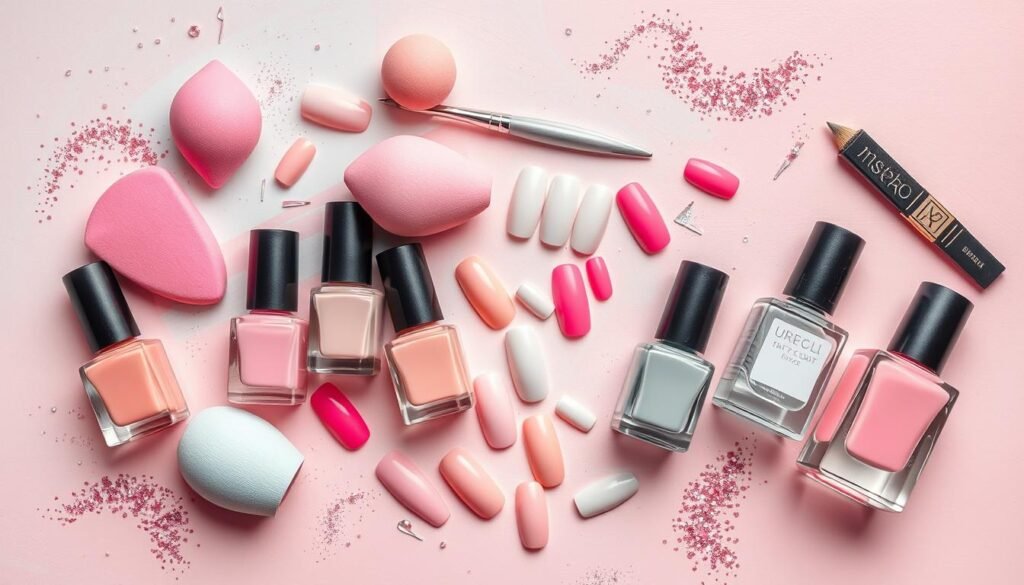
To make stunning aura nails, you need the right tools and materials. You’ll want to get the look of holographic nails or chrome nails. So, gather the essential supplies.
First, pick nail polishes in your base color and aura colors. A small sponge or beauty blender is key for blending colors well. Also, get a matte top coat to set your aura effect.
For a better aura nail look, consider these:
- Fluffy eyeshadow brushes for applying pigments
- Gel nail kit and lamp for longer-lasting results
- Nail art tools for adding intricate details
- High-quality top coat to seal your masterpiece
Nail artists often use special pigment powders for holographic nails. These powders add depth and make your aura design pop.
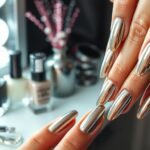
Chrome nail fans need chrome powders for that mirror-like finish. Brands like Function of Vex have pigment palettes for nail art. They help you get pro results at home.
With these tools and materials, you’re set to start your aura nail journey. You’ll create stunning, otherworldly manicures.
Preparing Your Nails for the Aura Effect
Getting ready for aura nails starts with proper nail prep. This step makes your manicure last longer and look perfect. Let’s explore the key steps to prepare your nails for a stunning aura effect.
Nail Cleaning and Shaping
First, clean your nails well. Remove old polish and gently push back cuticles. Use a file to shape your nails, aiming for a uniform look that fits your hand shape. Make sure to smooth out any rough edges for a polished finish.
Applying Base Coat
A good base coat is essential for any manicure, especially for aura nails. It protects your natural nails and helps the polish stick better. Apply a thin, even layer and let it dry completely before moving on.
Choosing the Perfect Base Color
The base color is crucial for your aura nail design. Light colors like nude or pale pink are great, letting the aura effect shine. For a bolder look, try a clear base. Apply two thin coats, letting each dry fully.
| Base Color | Effect on Aura Design | Best For |
|---|---|---|
| Nude | Subtle, natural look | Everyday wear |
| Pale Pink | Soft, romantic vibe | Spring/Summer seasons |
| Clear | Vibrant, striking aura | Bold statements |
With your nails prepped and base color applied, you’re ready to start creating your aura nail design. This preparation sets the stage for a stunning ombre nails tutorial, ensuring your aura effect will be smooth and long-lasting.
How to Do Aura Nails: Step-by-Step Tutorial
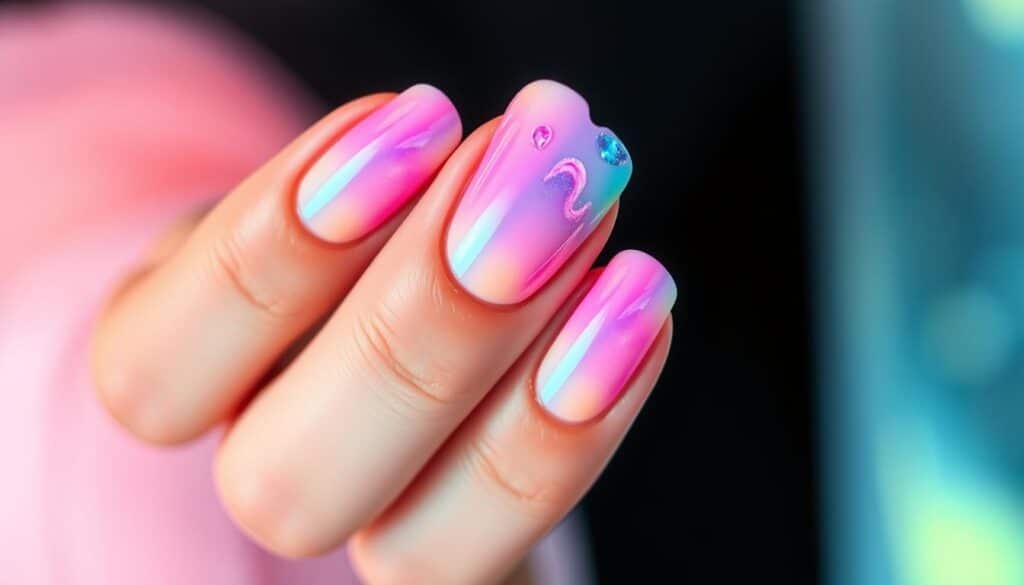
Creating aura nails is a fun and creative process. It combines tie dye and geode nails. This guide will help you make stunning aura nail designs at home.
Creating the Aura Effect with a Sponge
Begin by applying a matte top coat to your nails and let it cure. Use a small makeup sponge and dip it in your aura color. Gently stipple the color in the center of your nail, building up opacity while keeping the edges soft and blurred.
Blending Techniques for Seamless Transitions
Use a fluffy eyeshadow brush to blend the colors smoothly. This creates a seamless gradient effect, like tie dye nails. For multi-colored designs, apply layers of matte top coat between colors to add depth and dimension.
Adding Depth with Multiple Colors
Try different color combinations for unique aura nail designs. Layer light and dark shades to add depth and dimension. This technique can result in stunning effects, like geode nails.
Incorporating Celestial Elements and Embellishments
Enhance your aura nails with celestial elements like stars or rhinestones. Apply these embellishments strategically to complement your aura design and add extra sparkle to your manicure.
| Aura Nail Element | Description | Effect |
|---|---|---|
| Sponge Application | Creates soft, blurred edges | Ethereal aura look |
| Blending Brush | Smooths color transitions | Seamless gradients |
| Multiple Colors | Adds depth and dimension | Mimics natural gemstones |
| Embellishments | Incorporates celestial elements | Enhances overall design |
Color Combinations and Design Ideas for Aura Nails
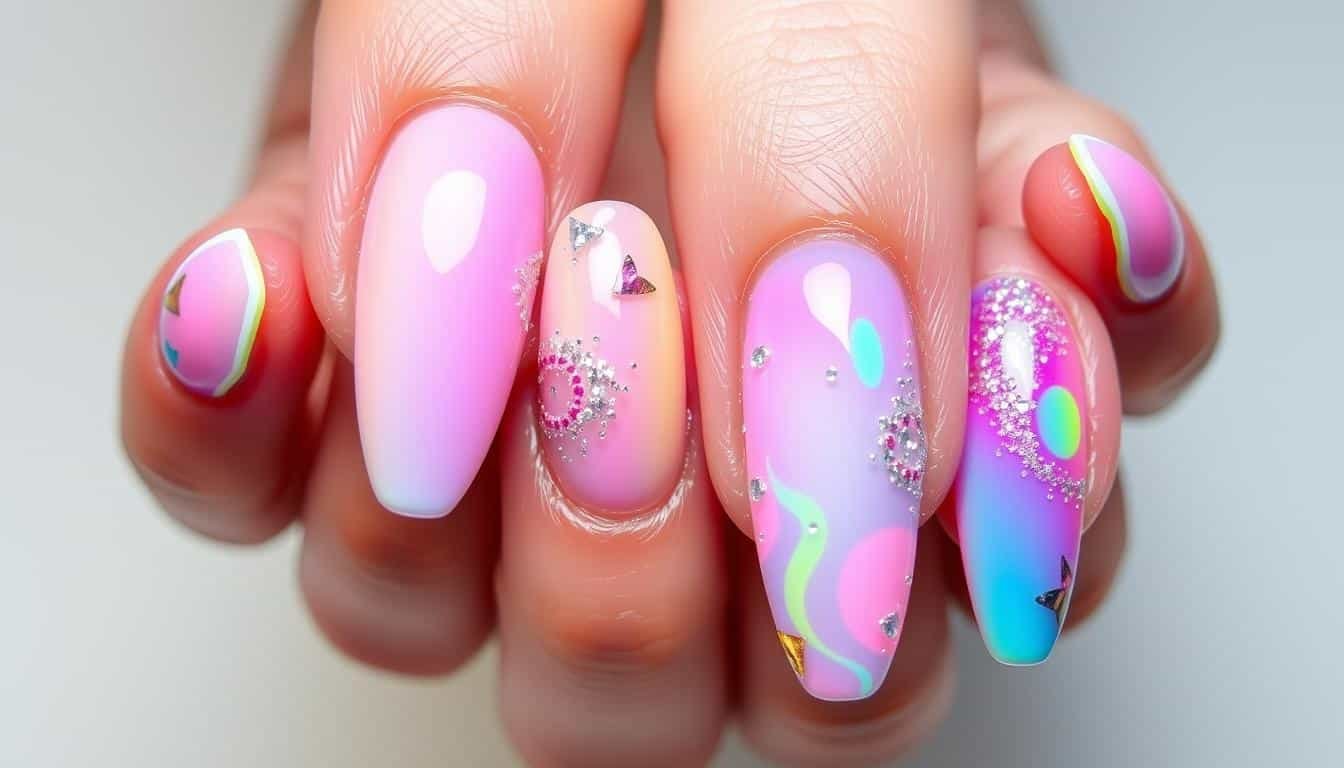
Aura nails let you explore endless creativity. Try rainbow French tips for a fun twist on a classic look. Or, go for Barbiecore pink aura designs or enchanting purple auras for a trendy vibe.
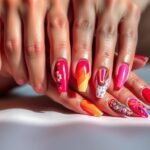
Love bright colors? Neon rainbow aura nails are perfect for you. You can also mix pastel shades with holographic nails for a magical effect. Citrus orange ombre manicures bring a fresh, summery feel.
Can’t decide? Mismatched primary color designs let you show off different hues on each nail. Colors have meanings too. Purple is for intuition, and pink is for compassion.
Play with color wheel combinations like complementary or monochromatic schemes. This way, you can create unique aura nail designs that show off your personality.
Don’t be shy to mix things up! Combine holographic nails with soft aura effects or add sparkle to your unicorn nails. The most important thing is to have fun and let your creativity shine through your nails.


Not buying the hype around Aura nails. Why spend so much time on a trend thats gonna fade away faster than my nail polish?
Trends come and go, but quality remains. Aura nails arent just a trend, theyre an experience!
Interesting read, but I argue that aura nails are just a marketing gimmick. Is there any real creativity behind this trend?
Honestly, do aura nails even matter? I mean, were just embracing our vanity instead of focusing on real world issues.
Aura nails or world issues, ever consider we can multitask our passions and concerns?
Really, arent aura nails just a fancy term for gradients? Do we really need a whole article for this? Just my two cents.
Perhaps for you, understanding the intricacies of nail art isnt worth an article. Not everyone shares your view.
Love the aura nails trend, but isnt it just another way for beauty companies to make us spend more money?
I get the hype, but arent aura nails just glorified French tips? Is it really a trend or just clever marketing?
Interesting trend, but isnt this too complicated for a DIY manicure? Arent simple, natural nails more timeless? Just a thought, folks!
Just read this aura nails guide – am I the only one thinking this is just another fad to milk money from us?
Interesting guide, but arent aura nails just a fancy name for gradient nails with a spiritual spin? Seems like a marketing gimmick to me.
Just read the aura nails guide, guys. But honestly, arent we just glorifying some expensive nail polish and calling it a trend? Thoughts?
Is anyone else tired of these aura nails trends? What happened to appreciating natural, healthy nails? Seems like another fad to me.
Is anyone else tired of these aura nails? Why not just appreciate natural, healthy nails? Seems more chic to me.
Sure, aura nails look cool, but arent we just glorifying overpriced manicures? What happened to simple, clean nails?
Am I the only one who thinks aura nails are overhyped? Nails are to be clean, not a canvas for abstract art!
Not everyone shares your minimalist perspective. Art has no boundaries, even on nails!
Personally, I think aura nails are overrated. Why not focus on natural beauty instead of following every fleeting trend?
Fun read, but isnt this aura nail trend just a rehash of the 90s mood ring fad? Whats next, Tamagotchi-inspired hairdos?
While aura nails are trendy, arent they just a fancier version of french tips? Im not convinced theyre worth the hype or the price.
To each their own! Aura nails offer a unique, vibrant twist that French tips simply cant match.