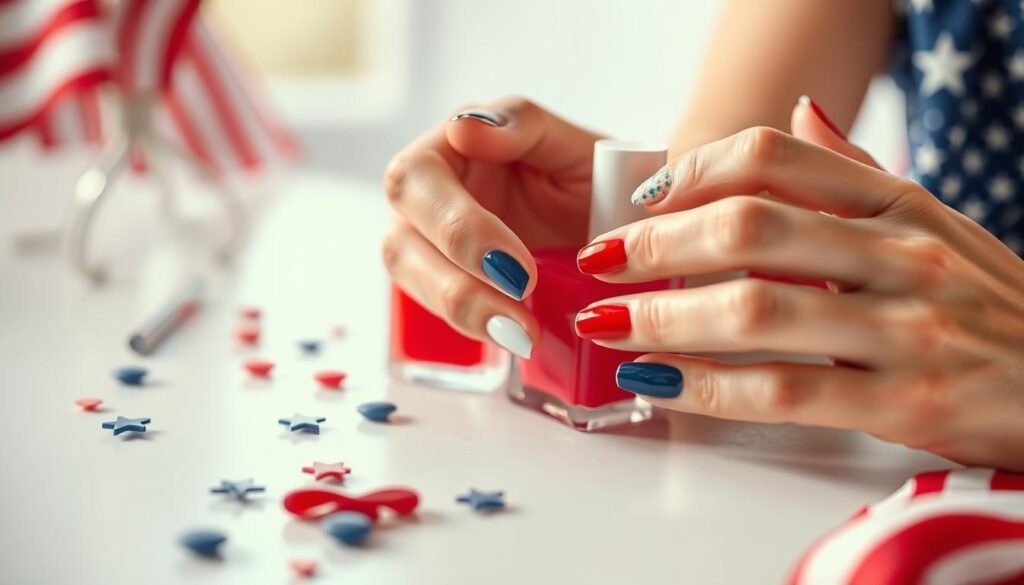
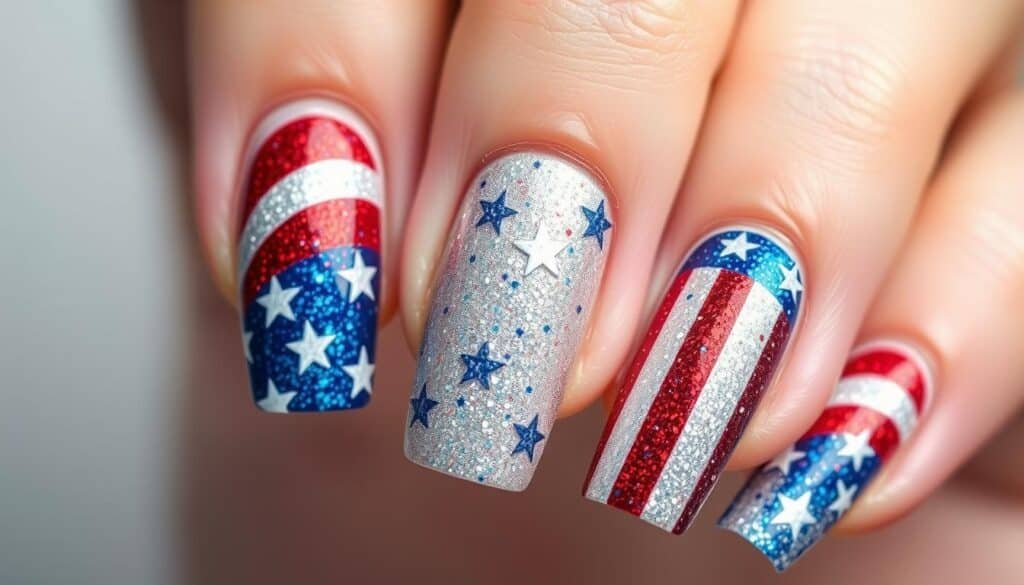
Ever thought about making your nails pop during patriotic events? Imagine rocking a stunning American flag nail design that gets everyone’s attention. This guide will show you how to do just that, with red, white, and blue nails that scream patriotism.
Patriotic nail art is more than a trend; it’s a way to show your national pride. Whether it’s the Fourth of July, Memorial Day, or any other national holiday, mastering the 3 alternating color nails American flag theme will make you stand out.
This step-by-step guide will teach you how to create a dazzling patriotic manicure. You’ll learn how to pick the right shades of red, white, and blue and apply them perfectly. Soon, you’ll be rocking nail art that looks like a mini flag, waving with every move!
Key Takeaways
- Learn to create stunning patriotic nail art using red, white, and blue
- Discover the essential supplies for American flag-inspired nails
- Master techniques for clean lines and even coverage
- Explore ways to add stars, stripes, and sparkle to your design
- Find out how to troubleshoot common issues in patriotic nail art
Introduction to Patriotic Nail Art
Patriotic nail art is a fun way to show your love for America. It lets you express your creativity and celebrate national pride. Let’s look at why these designs are loved and when to wear them.
Why American Flag Nails are Popular
Stars and stripes nail designs grab attention with their bold colors. They fit both casual and formal events. Many enjoy wearing these nails as a symbol of American spirit.
Occasions for Patriotic Manicures
July 4th nails are perfect for Independence Day. But, don’t forget Memorial Day for honoring heroes. Veterans Day and Election Day are also great times for red, white, and blue nails.
Basic Supplies Needed
To make stunning patriotic nail art, you’ll need these:
- Red, white, and blue nail polish
- Base and top coats
- Nail file and buffer
- Cuticle oil
- Nail art brushes or toothpicks
- Optional: Metallic polish or glitter for accents
| Occasion | Popular Design | Key Colors |
|---|---|---|
| July 4th | Stars and Stripes | Red, White, Blue |
| Memorial Day | Poppy Flowers | Red, Black |
| Veterans Day | Flag Waves | Red, White, Blue |
With these supplies and practice, you’ll create stunning patriotic nail art. The most important thing is to have fun and let your creativity shine!
Preparing Your Nails for Patriotic Design

A stunning creative patriotic manicure starts with proper nail prep. Before diving into your American flag nail tutorial, take these essential steps to ensure a flawless finish.
Start by shaping your nails. File them to your desired length and shape, whether square, round, or oval. Next, gently buff the nail surface to create a smooth canvas for your patriotic design.
Clean and moisturize your cuticles to prevent ragged edges from interfering with your nail art. Push them back carefully using a cuticle stick wrapped in cotton.
Apply a high-quality base coat to protect your nails and help the polish adhere better. This step is crucial for a long-lasting patriotic manicure.
| Step | Purpose | Recommended Product |
|---|---|---|
| File and shape | Create desired nail shape | Glass nail file |
| Buff | Smooth nail surface | Four-sided buffer block |
| Cuticle care | Clean nail borders | Cuticle remover gel |
| Base coat | Protect nails and improve polish adhesion | OPI Nail Envy |
Allow each layer to dry completely before moving on to the next step. This patience will pay off when you start your American flag nail tutorial, ensuring crisp lines and vibrant colors in your patriotic design.
How to Do 3 Alternating Color Nails American Flag Theme
Make festive summer nails with a patriotic twist. This guide will show you how to get a stunning American flag-inspired manicure. It’s perfect for Independence Day or any patriotic event.
Selecting the Right Shades
Choose vibrant polishes that capture the essence of Old Glory. Go for a deep navy blue, a rich cherry red, and a crisp white. Revlon’s Top Speed in Superstitious (blue), OPI’s The Thrill of Brazil (red), and Sally Hansen’s Hard as Nails in White On are great choices.
Step-by-Step Application Process
- Apply blue polish as the base coat on all nails
- Use tape to section off the bottom third of each nail
- Paint the top two-thirds red
- Remove tape once dry
- Create white stripes using a thin brush or toothpick
- Add white dots for stars on the blue section
Tips for Clean Lines and Even Coverage
Get professional-looking results with these tips:
- Use thin coats to prevent smudging
- Allow each layer to dry completely before adding the next
- Invest in a quality striping brush for precise lines
- Clean up edges with a small brush dipped in acetone
- Seal your design with a clear top coat for longevity
Master this alternating color nail technique for eye-catching patriotic designs. With practice, you’ll soon have festive summer nails that show off your American spirit in style.
Creating Stars and Stripes: Techniques and Tools
Learning to make stars and stripes is essential for amazing patriotic nail art. This guide will help you make your nails shine at any Fourth of July event.
To draw stripes, use a thin brush or toothpick. Paint it with white polish and draw lines from the red to blue area towards the tip. Four stripes are best for that classic flag look.
Making stars is a bit harder, but with practice, you’ll get it. Use a dotting tool or toothpick for small white dots on the blue part. For a challenge, try making tiny five-pointed stars. It’s wise to practice on paper first.
- Thin brush or toothpick for stripes
- Dotting tool for stars
- White polish for both elements
Want to add some sparkle? Use metallic silver instead of white for a stunning effect. It will make your design shine and catch the light.
“Patriotic nail art isn’t just about replicating the flag; it’s about expressing your creativity and love for your country.”
Remember, patience is crucial for detailed designs. Take your time and don’t hurry. With these tips and tools, you’ll master the American flag-inspired manicure.
Adding Sparkle: Glitter and Metallic Accents

Make your patriotic manicure shine with glitter and metallic accents. These elements turn your nails into a dazzling display of American pride.
Incorporating Silver or Gold for Extra Flair
Silver and gold polishes add glamour to your patriotic nails. Use them for sparkling stars or to highlight accent nails. A thin metallic line at the tips adds a classy touch.
Placement Ideas for Glitter Accents
Be creative with glitter to make your nails stand out. Here are some ideas for your festive nails:
- Apply glitter to accent nails
- Create glittery French tips
- Use glitter as a base for star designs
- Add a diagonal glitter stripe across each nail
Sealing Your Glittery Design
To keep your manicure looking great, seal it with a top coat. This step is key to keeping glitter in place and your nails shiny.
| Glitter Type | Best For | Application Tip |
|---|---|---|
| Fine Glitter | All-over sparkle | Apply in thin layers |
| Chunky Glitter | Accent details | Place individually with a dotting tool |
| Holographic Glitter | Rainbow effect | Use over white base for maximum impact |
With these sparkly touches, your patriotic nails will be the highlight of any Fourth of July party. Have fun and let your creativity show in your festive nails!
Troubleshooting Common Issues in Patriotic Nail Art
Creating stunning American flag nails can be tricky, but don’t worry! Let’s tackle some common hurdles you might face during your patriotic nail art journey.
Bleeding colors often plague nail artists. To prevent this in your american flag nail tutorial, make sure each layer is completely dry before moving on. Patience is key! Use a quick-dry topcoat between layers to speed up the process.
Uneven lines can ruin your alternating color nail technique. Steady your hand by resting your elbow on a flat surface. For crisp edges, try using thin striping tape or nail vinyls as guides.
Smudging is frustrating, but fixable. If you accidentally smudge your design, wait for it to dry completely. Then, carefully touch up with a small detail brush dipped in the original polish color.
| Issue | Solution |
|---|---|
| Bleeding colors | Wait for each layer to dry completely |
| Uneven lines | Use striping tape or nail vinyls as guides |
| Smudging | Touch up with a small detail brush after drying |
Remember, practice makes perfect. Don’t get discouraged if your first attempt isn’t flawless. With each try, your american flag nail tutorial skills will improve, and soon you’ll master the alternating color nail technique like a pro!
Conclusion
Mastering patriotic nail art is a fun way to show your American spirit. You can create eye-catching designs for any national holiday with red, white, and blue nails. The stars and stripes nail design lets you display your creativity while honoring the flag.
By following the steps in this guide, you’ll be able to achieve professional-looking results at home. Remember to prep your nails well and choose quality polishes for the best outcome. Take your time during application to ensure clean lines and even coverage.
Don’t be afraid to add your personal touch to the classic American flag theme. Try incorporating glitter or metallic accents for extra flair. With practice, your patriotic nail art will become a standout feature at Fourth of July parties, Memorial Day events, or anytime you want to showcase your national pride.


But why only 3 colors? A real patriot would incorporate all 50 states flags into their nail art. Just saying…🙃
Interesting article, but arent those flag nails cliche? What about exploring abstract patriotic designs for a change? Lets push the envelope, folks!
Flags may be cliche, but they symbolize unity. Abstract designs can confuse the message!
Interesting read, but isnt it strange to limit patriotism to nail art? Maybe we should focus on unity actions instead? Just a thought!
Why limit patriotic nails to the American flag? Lets see some global unity with world flag nail art! Whos with me?
Interesting article, but isnt it ironic we fuss over patriotic nails but ignore deeper issues like civil rights? Just a thought!
Is it just me or does anyone else think these patriotic nails are more about trendiness than actual patriotism? Just curious.
Interesting read, but ever questioned why we dont experiment with other country flags? Why just stick to the American flag? #FoodForThought